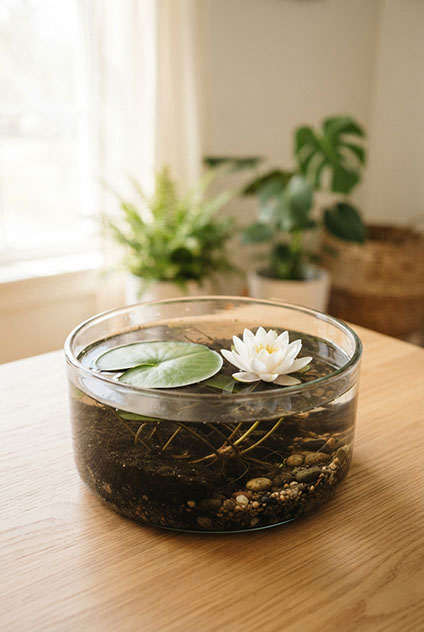
How to Build a Water Garden at Home (Beginner’s Guide)
Meta description: Learn how to build a water garden at home with this beginner-friendly guide — no pond, no fish-tank experience, no yard required. Step-by-step instructions included.
You don’t need a backyard pond, a fish tank, or any prior gardening experience to build a water garden. All you really need is a watertight container, a little light, and about twenty minutes. Water gardens — small, self-contained scenes built around still or gently moving water — are one of the easiest ways to bring something quietly alive into a small apartment, a desk, or a windowsill.
This guide walks you through everything you need to build your first one today: what to gather, how to avoid the mistakes that trip up almost every beginner, and a complete first project you can finish this afternoon.
What Is a Water Garden, Exactly?
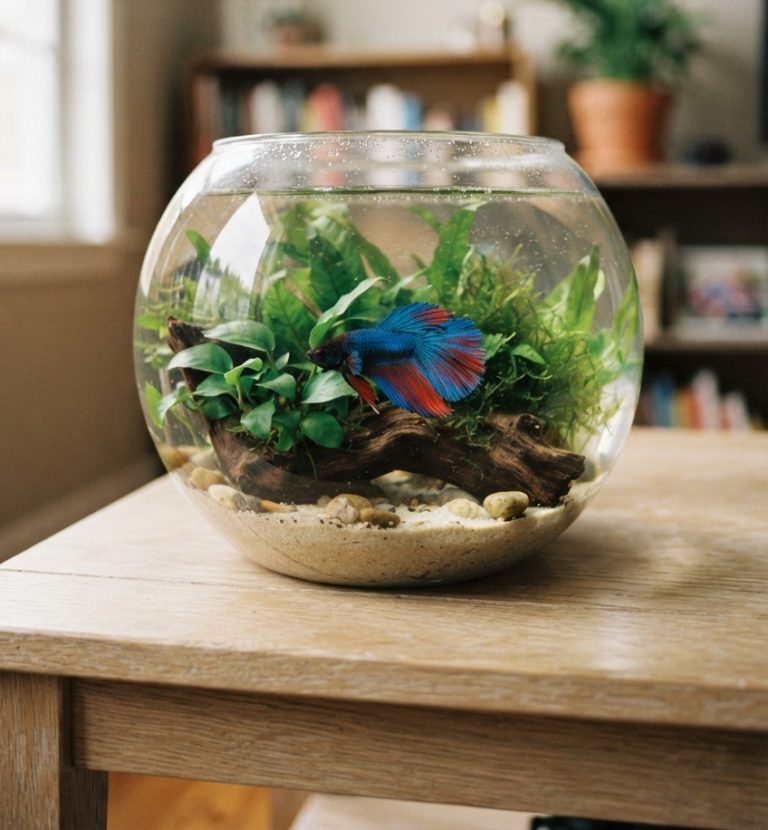
A water garden is any small container built around water instead of soil — a glass bowl with a floating plant, a planted betta bowl, a half-land-half-water paludarium, or a tabletop fountain. Some hold living fish or snails. Many don’t. What they all have in common is scale: everything in this guide fits comfortably on a table, a shelf, or a windowsill, with no pond and no yard required.
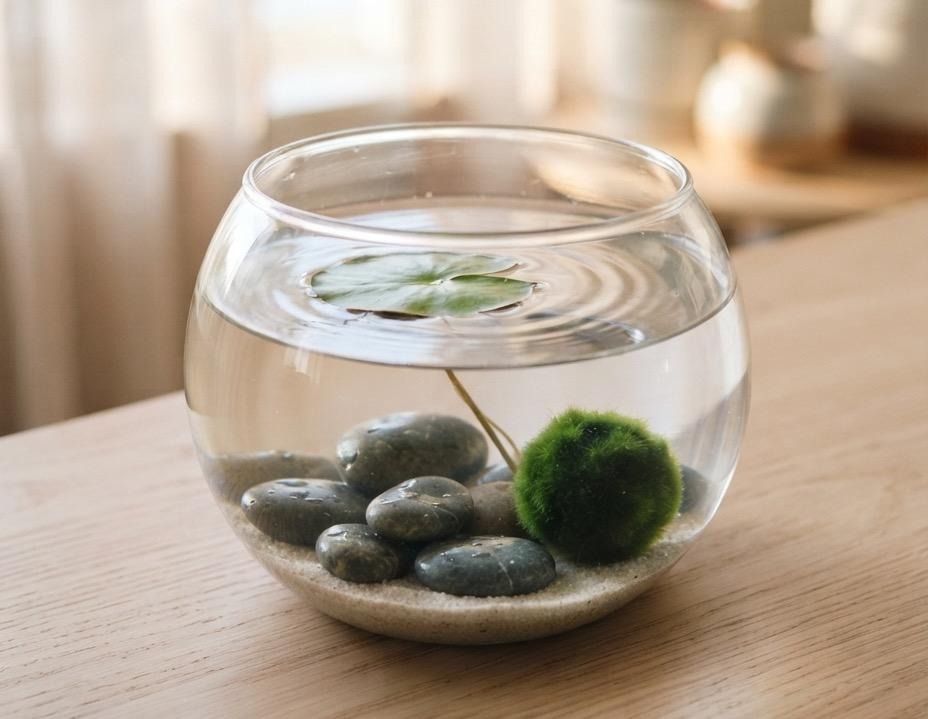
The appeal is straightforward. Water moves. It catches light and throws it back across a room in a way soil-based plants never quite manage, and it can hold a small living creature going about its day in full view. It’s also, for a lot of people, simply more restful to look at than a static houseplant — the light-catching movement and the faint sound of trickling water are part of why fountains show up in waiting rooms and quiet corners of offices everywhere.
The One Thing Almost Every Beginner Gets Wrong
Before we get into materials, it’s worth addressing the single biggest reason first attempts at water gardening go sideways: over-cleaning.
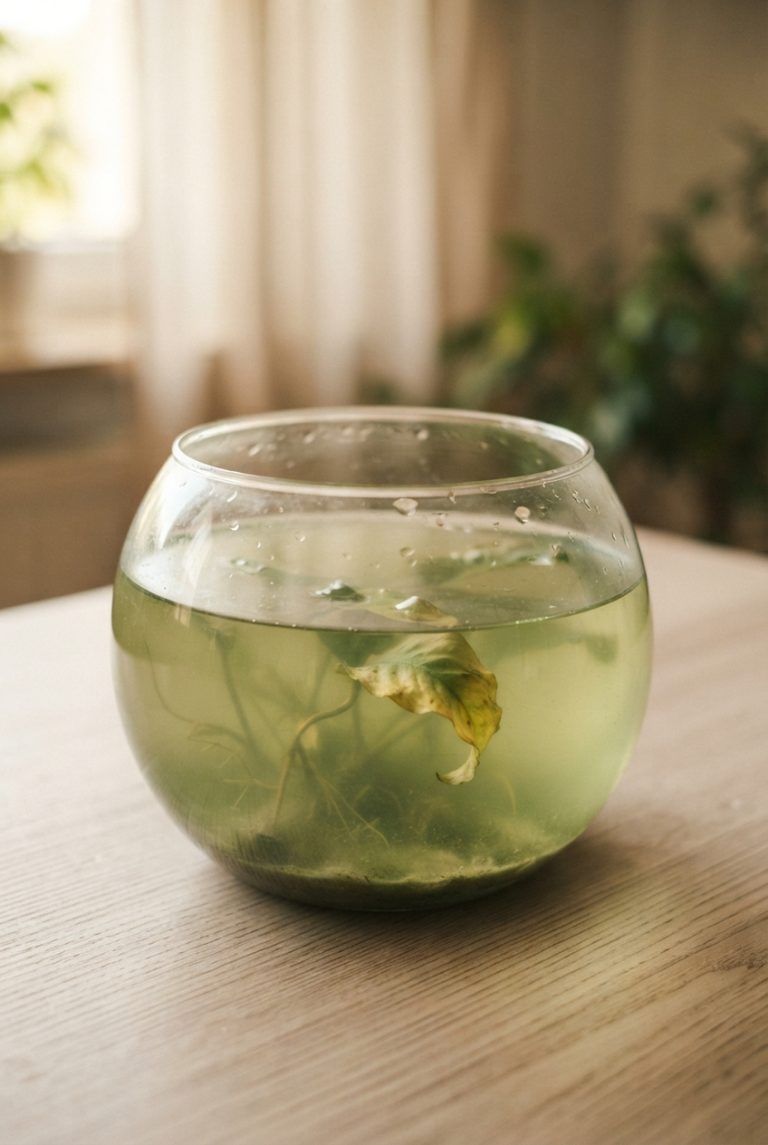
Water looks simple — pour it in, done — and that apparent simplicity is exactly what leads people astray. A new water garden needs about a week to settle. Plants take up nutrients, beneficial surfaces build up on stone and glass, and the water finds a kind of quiet balance. Slight cloudiness in the first few days is normal, not a sign of failure.
The instinct most beginners have is to “fix” cloudy water by changing all of it and starting over. That’s almost always the wrong move — a full reset wipes out the very balance that was starting to establish itself, and the bowl often clouds up again shortly after. The better approach:
- Change water little and often, not all at once. Replacing about 10–20% of the water weekly keeps things balanced without disrupting whatever equilibrium has built up.
- Save full water changes for real emergencies — a bad smell, an oil sheen, a dead animal — not routine cloudiness.
- Give a new container about a week before judging it. Most beginner “failures” are just impatience.
If you remember nothing else from this guide, remember this: balance comes from small, consistent changes, not big, occasional ones.
What You’ll Need
The good news is that water gardening requires very little equipment, and most of it is inexpensive and reusable.
A container. Glass is the easiest starting point — a bowl, a vase, or a wide jar all work. It’s inert, meaning nothing leaches into the water, and it makes it easy to spot problems early. If you’re planning to add fish or snails, avoid metal containers entirely; many metals leach trace amounts that are harmless to a houseplant but toxic to aquatic animals.
Treated water, if you’re adding any living animal. Tap water in most places contains chlorine or chloramine, which is harmless to drink but harmful to fish gills and beneficial microorganisms. A bottle of aquarium dechlorinator drops (a few dollars at any pet store) neutralizes both instantly. If your project is plant-only, untreated tap water is completely fine — save the drops for anything with fish or snails.
A plant suited to your light. More on this below.
A few basic tools, if you want to make maintenance easier: a small net, a turkey-baster-style siphon for water changes, and a pair of long tweezers for placing plants in tight containers. None of these are strictly required for your first project, but they make ongoing care noticeably easier.
Choosing Your First Plant
Light is the single biggest factor in whether a water garden thrives or turns cloudy and green, so it’s worth matching your plant to the light you actually have — not the light you wish you had.
- Bright, several hours of direct or strong indirect sun: a dwarf water lily is the classic starting point and genuinely thrives here.
- Bright but indirect, a step back from the window: a peace lily grown bare-rooted in water, or a trailing pothos cutting, both do beautifully.
- Medium or lower light: java fern and anubias — both grown tied to driftwood or stone rather than planted in soil — tolerate low light better than almost anything else.
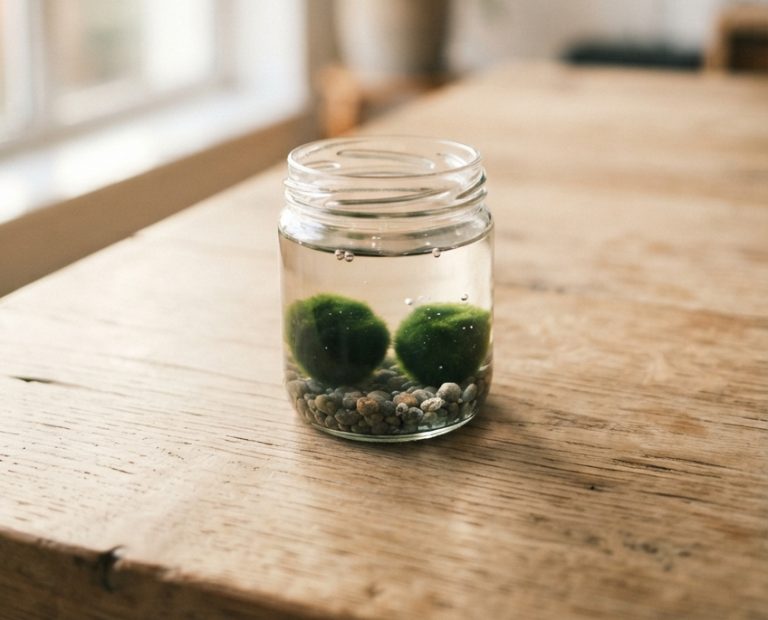
- Any light at all, including quite dim: a marimo moss ball is the single most forgiving plant you can start with. It’s not actually a moss but a ball-shaped colony of algae that’s completely benign, and it needs almost nothing to thrive.
If you’re not sure how much light your space gets, err toward the dimmer end of your options. It’s far easier to add more light later than to recover from an algae bloom caused by too much.
Your First Project: A Simple Water Bowl Garden
Here’s a complete beginner project you can finish in about twenty minutes.
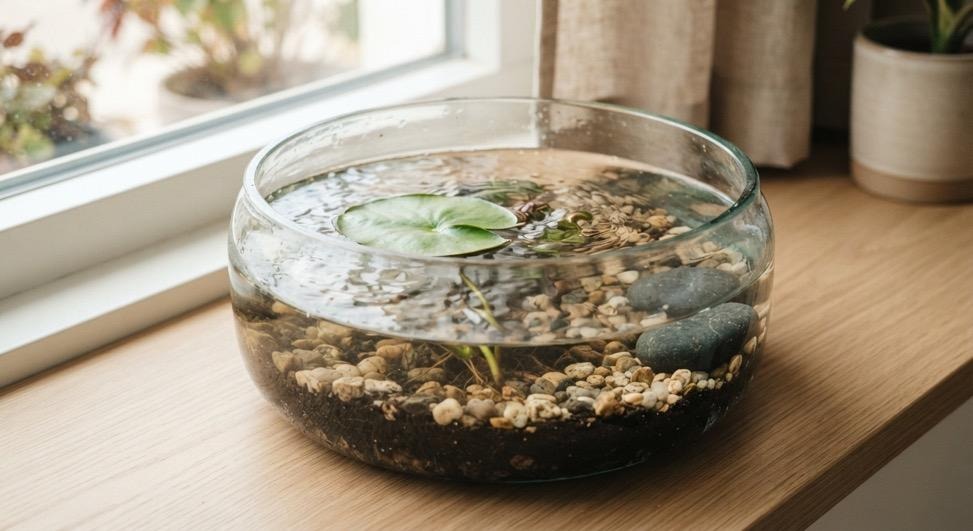
What you’ll need: a wide, shallow glass or ceramic bowl, a couple of inches of aquatic planting soil, a dwarf water lily (or a marimo moss ball for an even simpler no-soil version), a handful of smooth stones, and water.
How to build it:
- Spread the aquatic soil across the bottom of the bowl, about two inches deep.
- Nestle the plant’s roots into the soil and press gently to anchor it. (Skip this step entirely if you’re using a marimo — it just drops straight into the water.)
- Cap the soil with a thin layer of stones so it can’t cloud the water once you fill it.
- Pour in water slowly, ideally over one of the stones rather than directly onto the soil, to avoid stirring it up.
Caring for it: Bright, indirect light for a water lily; low or medium light is fine for a marimo. Top off water weekly as it evaporates, and change about 15% of the water every one to two weeks. That’s the entire routine.
Reading the Warning Signs
Water gardens tell you what’s wrong, if you know what to look for:
- Green, cloudy water almost always means too much light or too many nutrients. Move it somewhere dimmer, and be patient — this corrects over one to two weeks, not overnight.
- A white, milky look in a brand-new bowl is usually just a harmless bacterial bloom as the container settles. It typically clears on its own within a week.
- A sudden bad smell means something is decaying — a dead leaf, overfeeding if there’s a fish involved, or worse. Find and remove the source, then do a modest partial water change.
Where to Go From Here
Once you’re comfortable with a simple bowl, there’s a lot of room to grow: planted betta bowls (done properly, with real space for the fish rather than the tiny-bowl approach that’s unfortunately still common advice online), half-land-half-water paludariums that combine a mossy bank with a still pool, floating kokedama gardens, and small tabletop fountains that bring in gentle movement and sound.
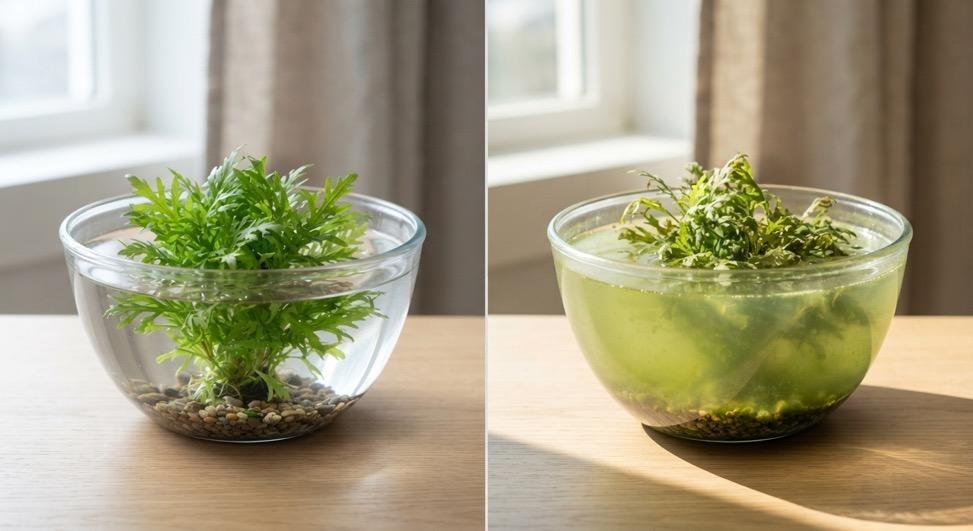
Each of those is really just a variation on the same core skill you just practiced: match your plant to your light, keep the water balanced with small consistent changes instead of big rare ones, and give a new setup about a week to settle in before judging it.
If you’d like a more complete walkthrough — including planted betta bowls, paludariums, and thirty guided projects in total — grab the free Quick-Start Guide, or check out the full book, The Water Garden, for the complete plant directory, troubleshooting flowchart, and step-by-step instructions for every project.
- The Tabletop Garden: https://www.amazon.com/dp/B0H8HGD8VX
- The Miniature Garden: https://www.amazon.com/dp/B0HB96HTM5
- The Water Garden: https://www.amazon.com/dp/B0HBMC1W77
3 Comments